My Travel

Thursday, April 26, 2018

From The Hills Of Kavresthali To Goa, Manali And Bristol: The ‘Pandy’ Story

April 26, 2018 0
From The Hills Of Kavresthali To Goa, Manali And Bristol: The ‘Pandy’ Story
The European tourists came asking for Pandy, both in Goa and Manali. Once, a Swedish guest sent him a thousand kroner when he got the news of a massive flood that hit Manali.
It goes without saying that you meet a lot of people in your daily life. You find most of them no different than the mundane tasks like shopping for food and doing house chores or as commonplace as the quotidian traffic of the Kathmandu Metropolis–but some stand out from the rest. You are more interested to talk with them and instantly develop an easy and close rapport.  One such person happened to be Mr Kamal Prasad Dhakal aka ‘Pandy’ when I met him.
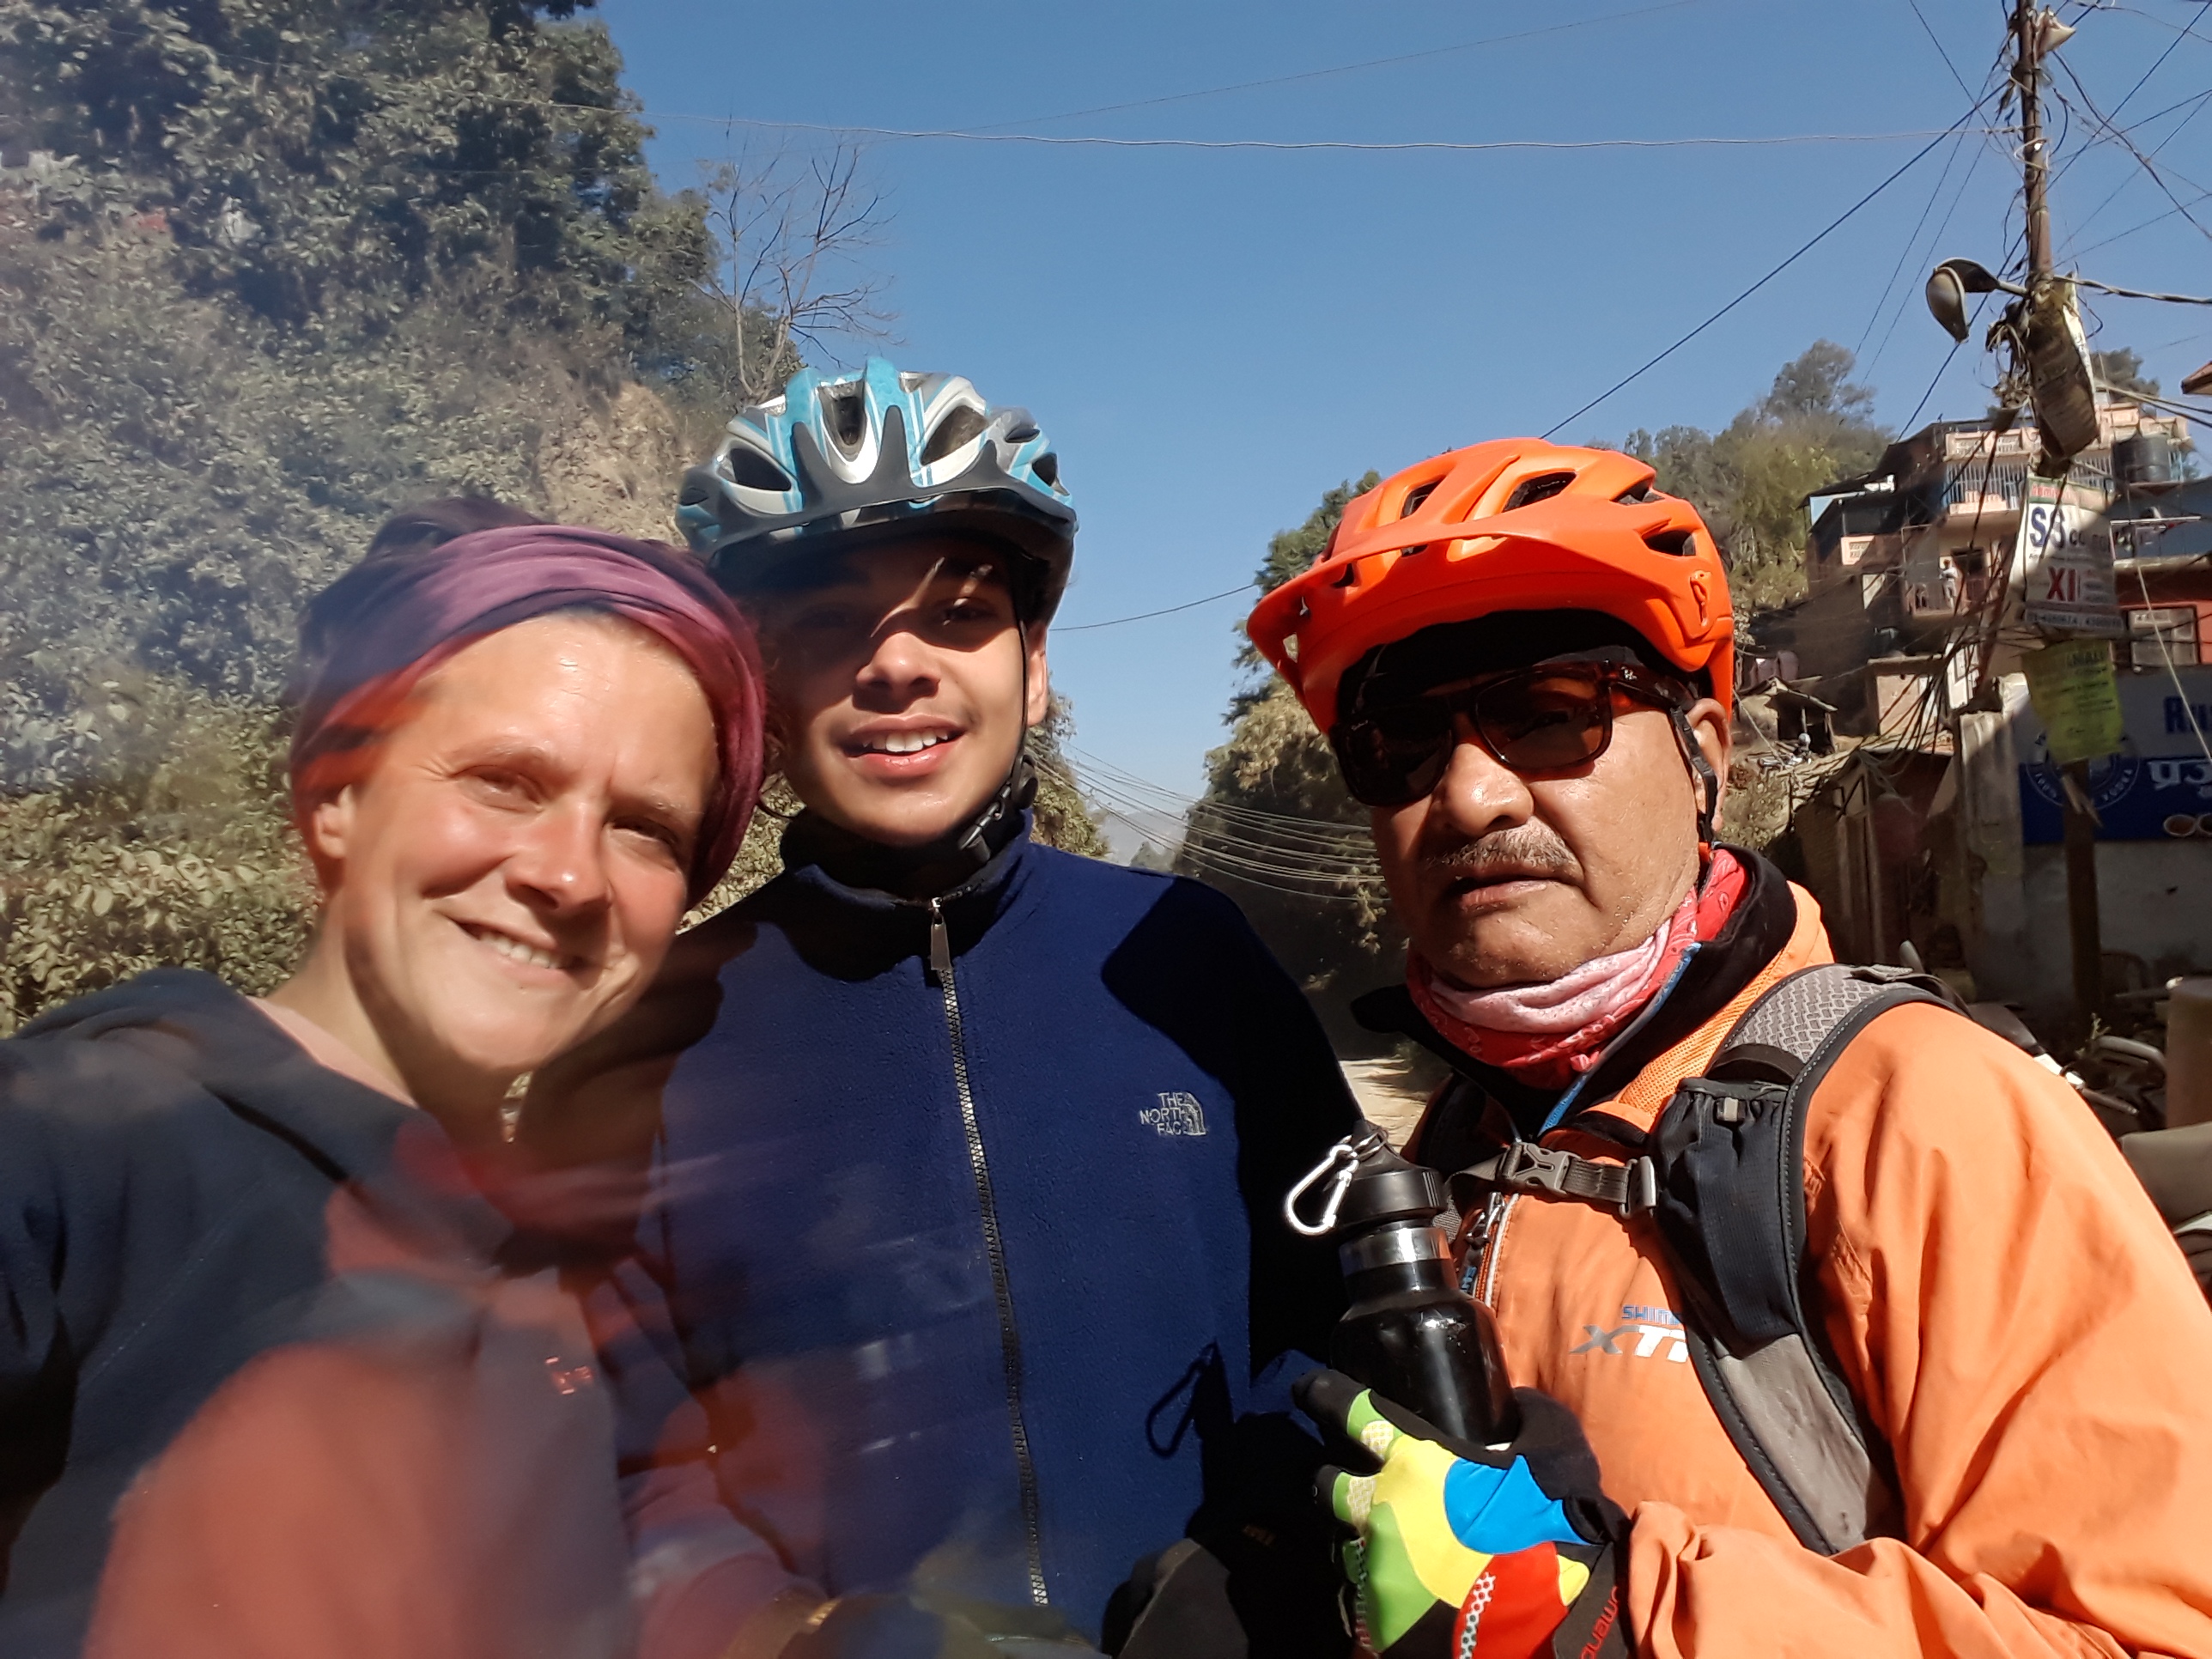
It was sheer coincidence. We met at a quaint little village called Kavresthali, some 11km northwest of Kathmandu when I was cycling with a couple of friends, Lisa, a British national, and Shayeet, a neighbour and my cycling partner (read the previous story). Kamal runs a roadside tea shop at Kavresthali.
I had asked Kamal why the ludicrous name Pandy when we met last.  To quote him again: “My actual name is Kamal Prasad Dhakal. I’m a Brahmin or a ‘pandit’. During my stints in Goa, I came across a lot of European tourists. They always asked my name. Now, it was kind of difficult for them to call me by my Nepali name. So, I decided to name myself Pandy, a short form for ‘pandit’.  Much to Lisa’s amusement, he even rhymed it and said, “Pandy like a candy.”
After the first meeting, I was burning with curiosity to see him again and hear his story. I was truly hooked by this character, something of an eccentric. In a week or so, I set out on my mountain bike to see Pandy again. This time Lisa and Shayeet could not join me, but I had a new partner, Shankar.
I chose a different route this time. We first rode to the old Newar town of Tokha, and then to Jhor, located some 11.5 kilometers north of Kathmandu at the foothills of the Shivapuri hills. From Jhor, a recently built highway goes to Nuwakot.
I was surprised to find the road widened and newly tarred all the way to Jhor(it was all shambles only six months ago). After Jhor, we left the highway and turned left towards Sangla on a graveled road.
Shortly, we left behind the narrow track on our right which led to the Boudeswor Mahadev, famed for the deity of Shiva enshrined deep inside a cave.  Right next to the cave, a massive waterfall that gets active during the monsoon, draws huge crowds on weekends.
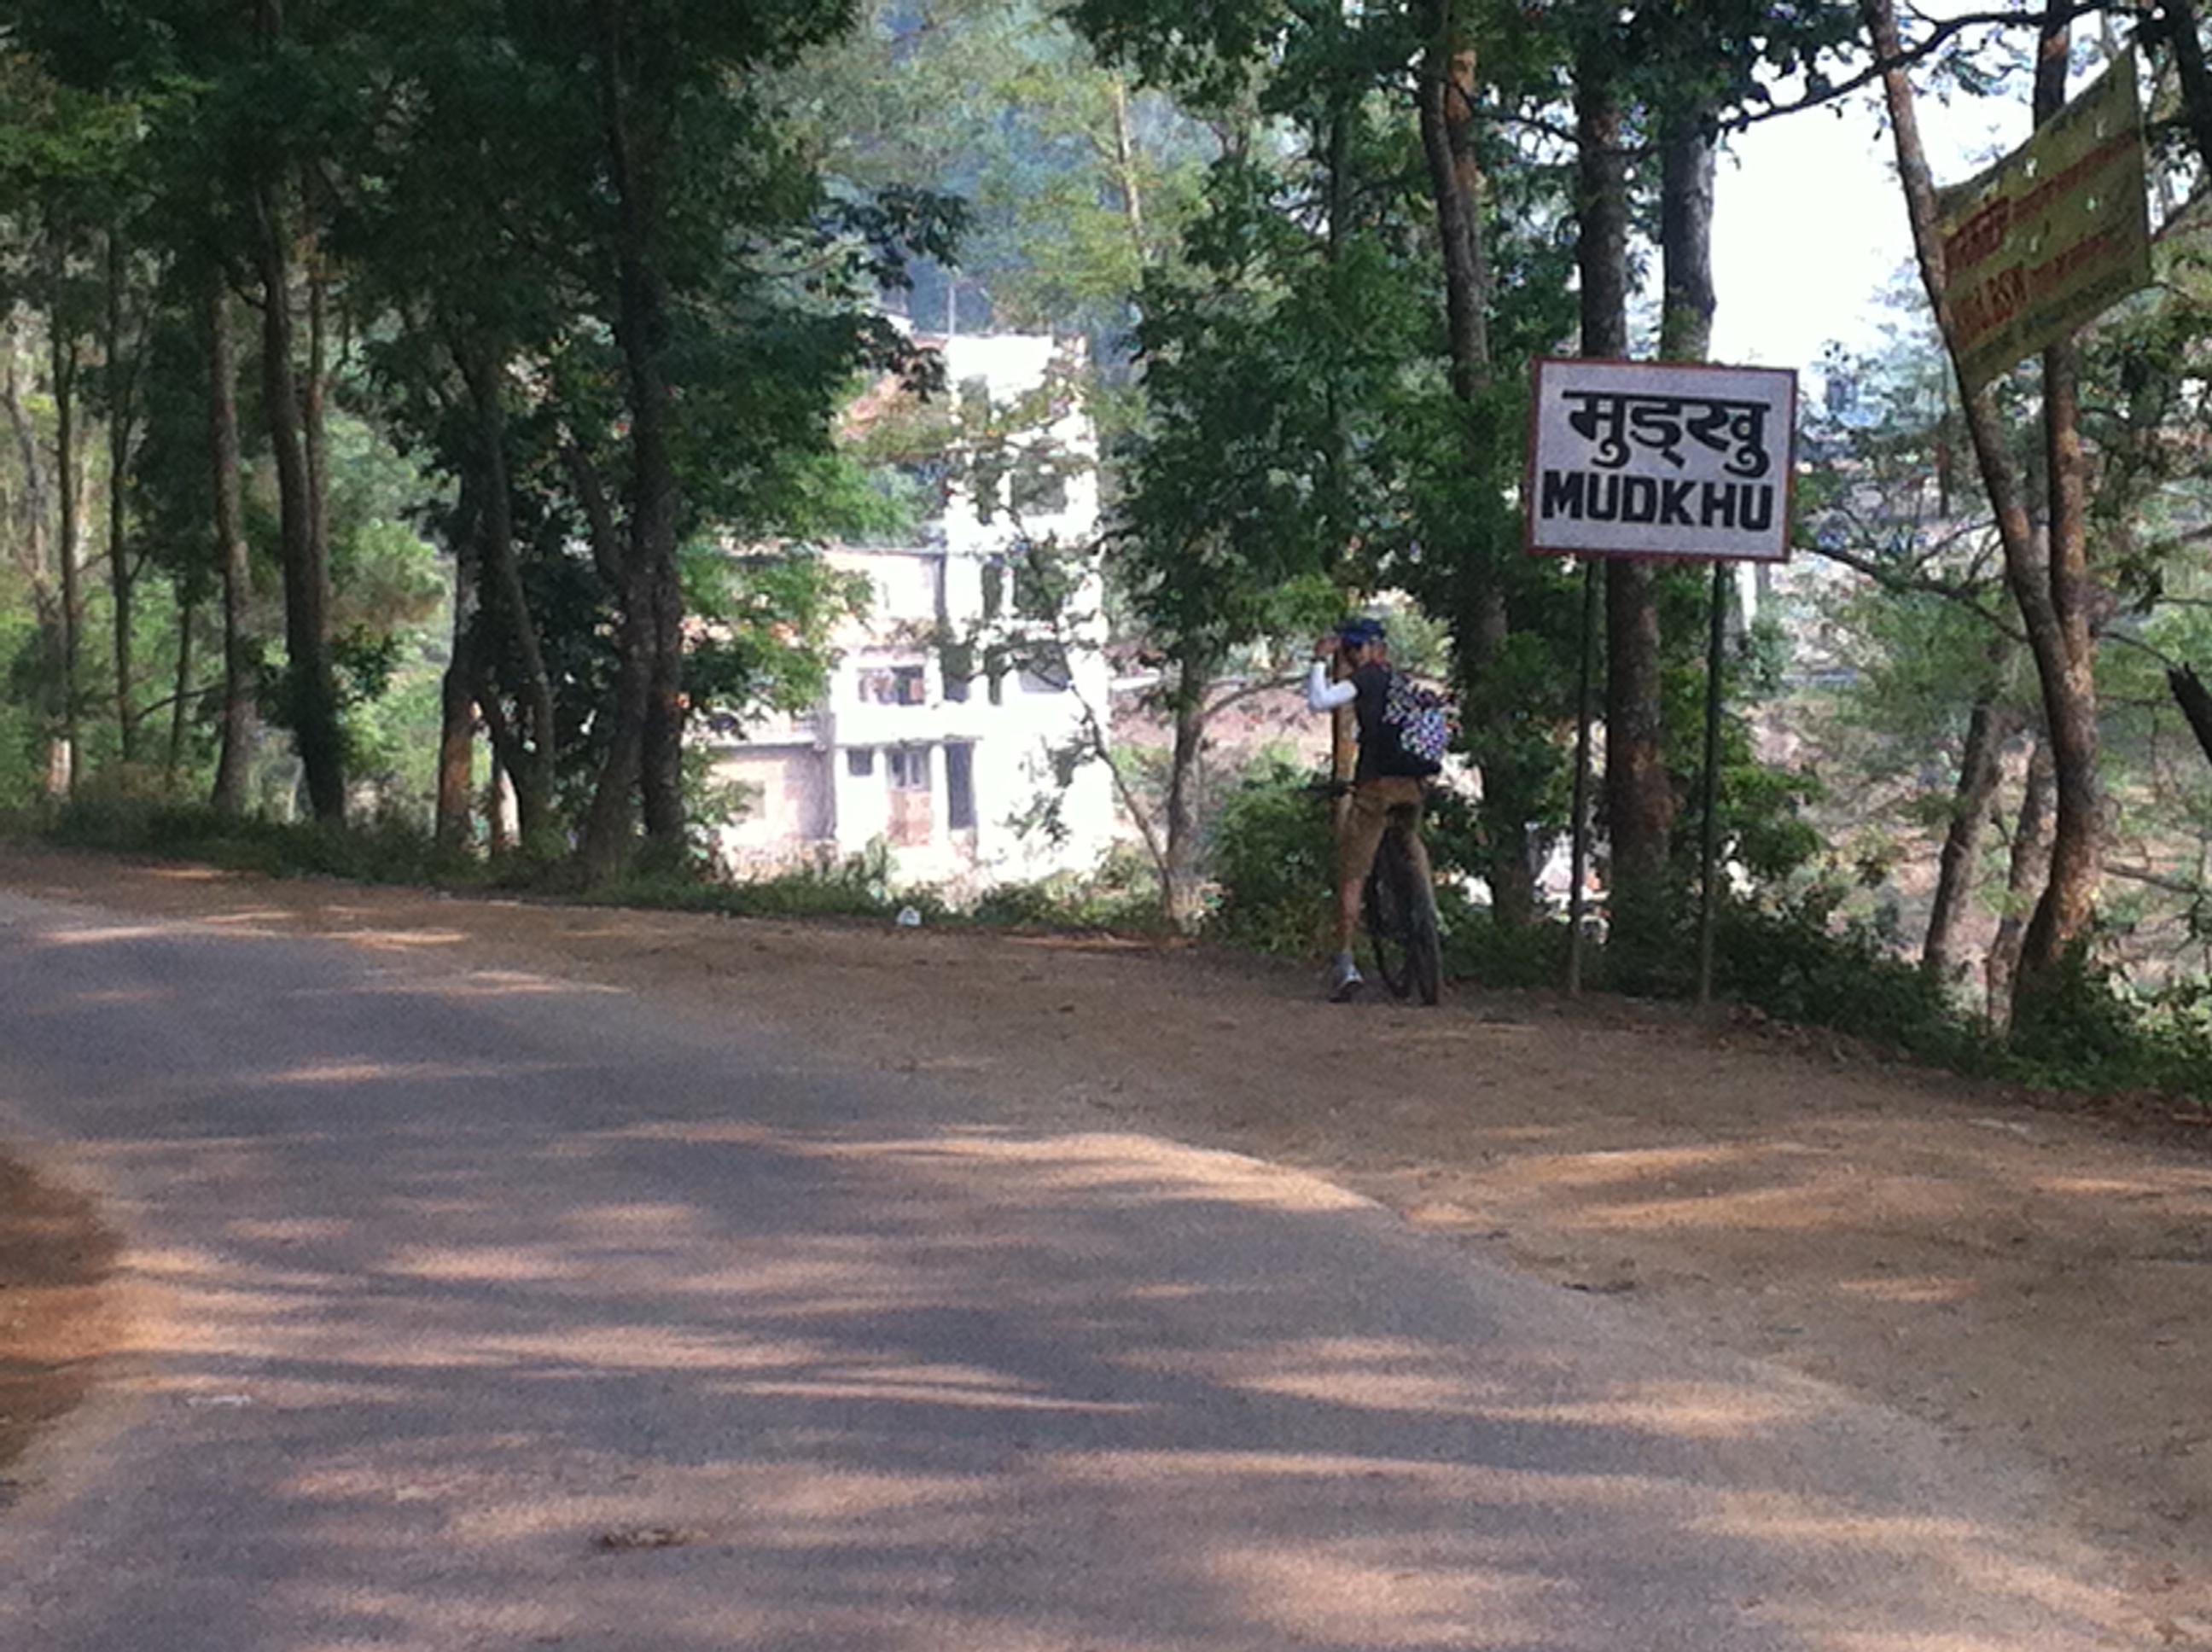
After the bus park at Bihani Chowk, Sangla, we took the right-hand fork to Kavresthali. The road further led to Jitpur Phedi, Teen Piple. After Teen Piple, you can either head towards Kakani or Mudkhu and back to Kathmandu.
After a fairly tough pedaling up and down through the quiet backcountry with soothing fresh air and matching rustic landscape, we finally made it to Kavresthali in an hour.  Lo and behold, after working ourselves hard into a lather, up and down the hills, what do I see–Pandy’s teashop shutters closed!  I swore loudly.
With a sinking heart, I approached a group of young fellows who hung around the place. “Hello, guys, do you have any idea why Kamal’s shop is closed today?” “I heard he was not feeling well” answered one of the chaps.  “If you have to see him, he stays close by” offered another and pointed down the road. “He stays after four houses on the right.” That hoisted my spirits.

I thanked my lucky stars to find Kamal aka Pandy home. He had strained a ligament and limped on his right foot. He remembered our last meeting and agreed to open his teashop for us when I told him about my purpose.
Obviously, I had to have the refreshing buffalo-milk tea first (my favorite when I ride to the country).  Kamal lost no time and busied himself in his one-room tea shop. The strong tea tasted fine like the last time–the buffalo milk did it all. Finally, we settled down for his story. He seemed excited to know that the story would come up on Onlinekhabar.
Kamal, now aged 42, was born and brought up at Kavresthali. After completing his 10thstandard, he decided to go to India to seek greener pastures like his forefathers did by setting foot in Muglan (coined after a region under Mughal rulers who ruled India for over two centuries). He was aged 17 at the time. He landed a job as a waiter in a hotel in Manali, a Kullu Valley town in the Himachal Pradesh.
Inquisitive by nature, the young Kamal was hard working too. In less than a year, he was transferred to the food production (kitchen) as a back-waiter. The new job presented newer challenges but he took them all in his stride. Situated at an elevation of 2,050 meters, Manali was almost like Nepal nestled in the mountains that dropped to the Beas River valley. The beautiful surroundings made Kamal sometimes forget that he was on a foreign soil. With time he made good friends with the other hotel staffs who helped him overcome the pangs of homesickness.
Kamal’s poised and self-assured manner led him further up the ladder in his career. He got promoted to a kitchen hand and then to an assistant cook. During this time, a waiter-friend once suggested trying his luck in Goa and gave him the address of a sea beach restaurant. He was game for this new opportunity. The state of things at the hotel in Manali also favored him.
The hotels in Manali, a tourist destination, were literally closed in winter for four months (Oct to Jan) because of cold weather (temperature dipped below freezing).
Conversely, those four months happened to be peak tourist season in Goa situated on the west coast of India (liberated from the Portuguese rule in 1961). Off he went to Goa to try his luck. He worked in a restaurant at Palolem Beach, Canacona, in Southern Goa.
“My salary at the hotel in Manali was Rs. 2,200 a month.  I could not believe my eyes to see my day’s earnings in Goa come to more than 400 rupees” explained Kamal as he sautéed noodles for some customers who had stopped by.
Surprisingly, for a small teashop, the frequency of people coming to drink tea and eat at his place was quite remarkable. I had to wait for him to continue his story in between recurrent interruptions.
It seemed, Kamal, was quite popular in the village and his tea shop seemed to be doing brisk business. I watched as more and more people dropped by and preferred eating at his shop than the one right across his, which did not have even half the customers he had.
I could feel that he had something, almost a palpable aura and a personal charisma, which drew more people to him. More than that, his shop served as a melting pot for the village elders and the local elite, who chatted over tea. After done with some customers, Kamal continued on with his story.
“I was thrilled by my maiden success in Goa, also called the Pearl of the Orient. It looked as if Goa never slept. By day it was the sun, sand and the surf. By night it was wining, dining and dancing. There were more than 7,000 licensed bars in Goa with endless numbers of illegal ones. Drugs and the local liquor called Feni were rife.”
I worked for three months and made almost 40 thousand rupees. I’d never seen so much cash in my life before,” Kamal smiled in reminiscence. But he fled to Manali after three months.
It was back-breaking work and he was not used to that. He worked like a beaver from seven in the morning until as late as 1.00am.  “It was like walking almost 40 km a day doing rounds of the kitchen and the restaurant’s beach dining area.”
For Kamal, the enticement was more than he could resist, though. Come every season, he made a trip back to that restaurant in Goa and worked there for four to five months supplementing his earnings at Manali by more than 10 fold.
Life seemed to glide effortlessly for Kamal. Then another lucky break came his way and he grabbed it. While working in Goa, with help from a waiter friend, he got a Visa for the UK and in 2006, with renewed hopes for better opportunities, he flew to England.
He worked and stayed in an old lady’s house at Bristol, Southwest England. He spent two years with her in England, hopping over to France every six months to renew his visa.  England did not prove to be very fruitful as he had expected, though. Good jobs were not available without a work permit. During his stay in England, he visited Belfast, Scotland, Edinburg, Manchester, Wales, and others.
After two years, he flew back to India and rejoined the hotel at Manali and also resumed working in Goa. He spoke Konkani, the official language of Goa, English, Hindi and a smattering of Russian and Swedish.
His charming and polished personality made him very popular with the guests both at the Manali hotel and the restaurant in Goa. He had that knack for turning even the most mundane into interesting and exciting gossip.
The European tourists came asking for Pandy, both in Goa and Manali. Once, a Swedish guest sent him a thousand kroner when he got the news of a massive flood that hit Manali. So did a British guest, who sent him 500 pounds. Curiously, the guests became his friends. There were Swedish girls who fell for him and wished to marry him and take him to their country.
Soon, his charming personality led to an intimate relationship with a local girl from Manali and soon they got married. He had two daughters from his wife. During his stay in Manali, Kamal visited his hometown Kabhresthali with his wife and kids twice. The kids really loved Nepal.
For Kamal and his family, life seemed to roll effortlessly with no real worries. He kept his work at both the places in Manali and Goa. Days worked into months and the months into years. The babies grew into beautiful girls.
Life, however, decided to take an unexpected turn.
His wife suddenly inherited a sizable property and wealth upon her father’s death. That seemed to bring good tidings for Kamal and his family. “Gone are the hard days” he mused excitedly.  “The irony of it was that instead of good, this brought bad days in our lives.”
The sudden windfall, as it turned out, changed his wife into a totally different person. She developed a massive ego and became arrogant and opinionated. She started treating him like a servant. The situation got worse by the day.
To save his marriage, Kamal took brief leaves and left for Nepal. That did not help though to improve his relationship with his wife. She remained unchanged and unmoved. The marriage broke down and Kamal left Manali for good, only fond memories left to take him back. “My elder daughter from my first wife studies in the US in Philadelphia,” Kamal told me.
In 2013, after three years in Nepal, Kamal remarried a Nepali girl and settled down in his hometown at Kavresthali. He has two baby daughters from his second wife.
“There are certain things in life that you cannot sidestep even if you wished or tried your best. You have no control over them. In my case fate decided my course for me. That was my destiny, my karma. Today, I’ve no worries and no regrets. I’ve enough land and property to fend for my family and myself.” Kamal sounded content and confident.
More people started stopping by for tea and refreshments and I thought it was time to say our goodbye and let Kamal tend his business

Meeting ‘Mr Pandy’ On Kathmandu’s Picturesque Cycling Trail

April 26, 2018 0
Meeting ‘Mr Pandy’ On Kathmandu’s Picturesque Cycling Trail
We were riding on the Mudkhu-Teen Piple-Jitpur-Phedi-Kavresthali-Sangla circuit, a 25km round-trip which happened to be one of my frequent spins on my mountain bike. This route is also favored by many riders of Kathmandu.
Ours was an odd bunch. There was Lisa, a British lady from East London. She came to Kathmandu to do a CELTAcourse run by the Cambridge University and conducted by the British Council, Kathmandu. I came to know Lisa by pure chance through an old friend who happened to be doing the same course with her. My other co-rider was Shayeet, my neighbor.
Another oddity that marked our group was age: I was 65 years old, Lisa fortyish and the youngest Shayeet was just a kid, 17. More surprises seemed the order of the day. When I looked at Lisa’s bike, I almost got a shock.
It was an old rundown 6-speed Chinese bicycle that she bought at almost a throwaway price (Sorry, Lisa, for the throwaway remark!). God, the bike did not even have the suspension forks! Frankly, I would not ride it for all the tea in China! Shayeet had a Trek, a 29er, a hardtail (9-speed) and mine was a Trek Fuel8 dual suspension (10-speed), the high-end bike among the three.
My ten years of mountain biking has taught me to ride safe and always wear a helmet. I learned it the hard way after enduring loads of bumps and bruises. I always made sure my co-riders wore helmets. No helmet, no ride. To my dismay, Lisa had a ludicrous turban around her head resembling a woman’s brimless hat instead of a helmet, which I later learned was a buff-gear we use to cover our noses against the dust.
Ours was an odd bunch. There was Lisa, a British lady from East London. She came to Kathmandu to do a CELTA course run by the Cambridge University and conducted by the British Council, Kathmandu. I came to know Lisa by pure chance through an old friend who happened to be doing the same course with her. My other co-rider was Shayeet, my neighbour.
Helmet or not, I had to bow down that day because we did not have a spare one and we were running short on time. We started around 9.30 from Jalpa Chowk some 10 minutes from my place. At the first incline that began shortly after we started, I was cocksure, Shayeet, and I would leave Lisa way behind considering her low-geared bike.
Lo and behold, as it turned out, I was the last one to finish the climb after the two of them! She proved me completely wrong. Wow, lady, you’re a real tough rider, I said to myself! Little wonder she looked so athletic and carried that shredded physique. Later, I learned she ran, too, and had participated in some marathons back home.
The strapping young Shayeet is a natural athlete. He plays soccer, futsal, does weights at a gym and cycles. So, as it turned out, I was always behind the two when it came to climbing. Hang on–not on the downhill though; the two could not keep pace with me when I barreled down the slopes like a pro.
Mudkhu Bhanjhyang was like a half hour ride, the paved road on a mild gradient all the way. We stopped for a while at the police check-point for a breather and to sip water. The densely forested Nagarjun hill towered on our left behind the high walls of the Shivapuri-Nagarjun National Park. The next leg to Teen Piple was really dusty.
As the road was undergoing construction, we were sprayed with clouds of dust almost like every five minutes when a heavy tip truck roared past. Even my buff would not shield me from the thick dust. We must have inhaled a ton of dust by the time we made it to Teen Piple.
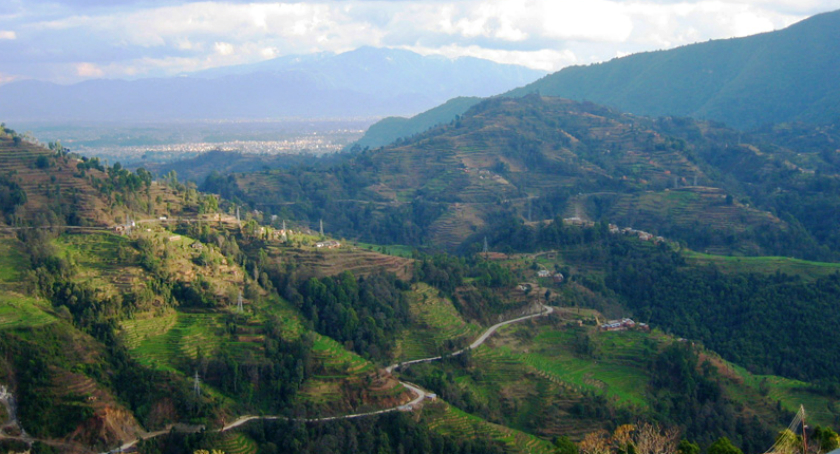
After Teen Piple, it was pure country, away from the dust and pollution of the city. The jeep-track going up and down led through small settlements and farmland. It was wheat time. The terraced fields with the young wheat grass sprawled over the hillside cascading down into the lower valley like a green carpet. In the distance was Kathmandu looking leaden and gloomy under a perennial pall of smog.
Lisa was doing fine save for a few occasions when the chain came off the chainring on the gravely slopes. That was not a big deal. I was afraid her rusty old wheels might buckle instead while doing the rocky downhill. After something like 40 minutes, we arrived at Jitpur Phedi.
History has it that the demure little settlement was named Jitpur after King Prithivi Narayan Shah (the first king of Modern Nepal) won over the Kathmandu Valley (Kathmandu, Laitpur and Bhaktapur). He had his barracks stationed at this village prior to the victory. To our left, I could discern the faint mark on the face of the high hill, which was the Tarkeswor Mahadev (a Shiva temple).
After Jitpur I felt we should stop for a cup of tea made from buffalo milk, a rarity in the city. It had become second nature to me to have a buffalo milk tea on every ride I made into the countryside. I kept on looking for a tea shop but given the odd time (it was close to noon), some of the shops did not have tea, missed some, and others were closed.
After Jitpur, the gravel track again cut across open country and a panoply of greenery. I kept looking at the roadside teashop as we pedaled on enjoying the rural landscape. At a place called Kavresthali, I spotted a teashop and stopped to ask.
“Sahuji (shop-owner), do you have buffalo-milk tea” I called. A pot-bellied man with graying stubble appeared and said, “Yes, we serve tea made from organic buffalo milk.” The three of us looked at each other and smiled at the use of the word ‘organic’.
The tea was good and refreshing. Then, I noticed the sahuji kept on eyeing Lisa as we sipped our tea and talked. “Are you British?” The shopkeeper suddenly asked Lisa.
“Yes, how did you guess?” That surprised Lisa. The guy then fell into a conversation with her . . . in English. Surprised, we listened to him as he told us he had stayed in England for a couple of years.
Before going to England he worked in a restaurant for a decade in Manali, a Kullu Valley town in the Himachal Pradesh, India and after the first few years there visited Goa to work during tourist season. Goa–a land of sea, sun, sand, spices and cashews–a multicultural hub–was a place where he could earn as much in a season (4 months) as he earned in a year in Manali.
“What’s your name?” I asked. “Pandy, like a candy,” he replied with a smile. We all smiled, too. Later, as we prepared to leave, I asked him why that funny name ‘Pandy’.
“My actual name is Kamal Prasad Dhakal. I’m a Brahmin or a ‘pandit’. During my stints in Goa, I met a lot of tourists. They always asked my name. Now, it was kind of difficult for them to call me by my Nepali name. So, I decided to name myself Pandy, a short form for ‘pandit’. There was another round of smiles among us. Interesting chap, I said to myself.
We did not stop the rest of the way. Shayeet and I were getting late for lunch and Lisa had to see someone in the afternoon. The downhill at Sangla gave us all a real kick. The uneven gravely road was steep, narrow, pitted at several places and strewn with pebbles. Obviously, I was in the lead. To sum it up, it was tricky and required skillful handling. A rider at the speed I was doing could break several bones if he flipped.
Shayeet and I parted with Lisa at Jalpa Chowk. Lisa was happy, so were we, like always, after a ride into the hills and the country. That’s mountain biking. As we headed back home, Pandy’s words kept coming back to my mind. He sure seemed an idiosyncratic character and I thought he would definitely make an interesting story. I decided I should take another ride in the coming week to Kavresthali to see Mr Pandy.
The story continues . . . .

Own A Mountain Bike In Nepal? Here’s How You Ought To Take Care Of It

April 26, 2018 0
Own A Mountain Bike In Nepal? Here’s How You Ought To Take Care Of It
Beginners, let me first congratulate you for launching yourselves into the sport of mountain biking. Take my word for it, you will never regret it. The benefits of mountain biking are much more than you can imagine.  It challenges both your body and the mind to keep you in good trim, physically and mentally. In short, it guarantees a new lease of life for you.
Obviously, riding is fun and come weekends you cannot wait to hit the trail on your new bike.  How about maintaining your bike and keeping it in shape and best working condition so that it gives you optimum performance?
More than that, you would definitely wish to extend the life of your bike because it has cost you a pretty penny.  Learning a few DIY basic maintenance tips can make a lot of difference and is worth the effort.
Here are some basic maintenance tips every mountain biker, especially the beginners, should follow to keep his/her bike in best possible working condition and shipshape. For more advanced repair, tuning, and servicing, there is always the experienced mechanic at a bike workshop to come to your rescue.
Clean your bike
Make it a habit of dusting and cleaning your bike after a ride to keep its components free from corrosion caused by grime and mud. Just one ride in a wet month and your sparkling new bike gets as dirty as it can,  all caked with mud. It’s a dirty job and tedious too, tired as you are after a gruelling ride. Tired or not, you obviously do not want to spend a thousand rupees on a full servicing after every ride, do you?
Wet months
What your mud-ridden bike requires is a thorough wash and mopping. A mild liquid soap (dishwashing liquid) and a bucket or two of water will do the work. All you need is a toothbrush, a sponge, a used paintbrush, old but clean rags and obviously a little of your time and effort.
Work up the whole bike with the soapy water using the paintbrush and the toothbrush including, the frame, chainring, cassette, chain, derailleur (front and rear), pedals, brake pivots and the saddle.
Now comes the tricky part. Make sure you do not use a jet spray but can rinse the bike with a gentle spray nozzle or just with a mug and a bucket or two of water. The reason for not using a forceful jet-spray is to avoid water seeping into critical places like the suspension fork stanchions, the bottom-bracket shell and certain pivots inviting problems of rusting. It also helps if you remove the sea-post, wipe it clean and apply a little grease before replacing it.
Let the water drip off the bike and to shed the caught-up water, lift the bike and drop it to the floor; repeat it a couple of times. Wipe the entire bike with a clean dry rag. If there is the Sun, let it stand there for the drivetrain, chain, and cassette to dry up.
After the bike has completely dried off, lubricate the chain and other moving parts with a good-quality lubricant like a Finish line dry or wet (available in all leading bike stores). Use the dry lubricant for drier months and the wet for wetter months. Caution: never make the mistake of using motor oil (mobil oil).
The proper lubrication of the drivetrain is to apply the oil on the inside of the chain. Use the oil liberally covering each link by reverse pedalling with one of your hands; wipe off the excess with a rag. Do not overlubricate it since it will only attract more dirt and interfere with gear shifting. You do not need to lubricate the upper side of the chain as the chain-ring, cassette cogs and the pulleys run on the inner side.
Washing your bike after a wet ride is good but frequent contact with water can be detrimental to certain critical parts like the hubs and the bottom bracket. If your rides are almost like every other day during the wet months, you do not need to wash your bike after every ride, make it alternate days, when you are not riding.  Caution: Like I mentioned earlier, never ever use a pressure washer or a powerful hose on your bike. It’s a total no-no!
Drier months
Generally, it’s better if your bike remains possibly in less contact with water. In drier months, you do not need to wash your bike frequently, even if the bottom-bracket shell and the underside of the lower tube collect mud.
What I normally do is get a rag soaked in water and wipe off the mud. Wash the mud off the rag and go for the final clean wipe. For the rest of the bike, a clean wet rag will do the work.
After a thorough wipe of the bike, prepare for the clean-up of the drivetrain, the chain, and the cassette.  I clean them after almost like every two rides. If you regularly clean them, your bike will perform better and you will extend the life of those moving parts.
Ok, guys, ready yourself to dirty your hands because this work requires you to touch sooty black greasy parts. First, heave your bike, flip it upside down and let it rest on its saddle and the handlebar on the ground. Make sure it rests on some kind of a mat to avoid damaging the saddle’s Rexine cover and from scratching the paintwork on the handlebar.
You might wish to have a bike work stand for better ease of working, the kind you see in a workshop. That, however, costs a packet, something like Rs 10/12k minimum.
Now begins the hard work. Ready some used toothbrushes and a number of rags for the cleaning. Start with the roller chain. Bear in mind: never lubricate a dirty chain since it lets grit and abrasive substances into the rollers.
First, hold a rag around the chain and run it by revolving the crank both clockwise and vice versa. After you wipe off the grime, use a toothbrush on each gap of the chain links rigorously.  Again, give the chain a final wipe with a clean rag.
Next, work up the cassette cogs and the chainring. Run the teeth of the cassette and the chainring through the toothbrush. While cleaning your cassette, also run the brush on the pair of pulleys or jockey wheels attached to the rear derailleur. Finally, lubricate the bike parts thoroughly as mentioned above.
Hold on your horses, your bike is still not ready, so do not dash off to hit the trail. Let your bike stand for at least 15 minutes after you flip it back upright so that the oil in the hydraulic brakes settles back. Give a vigorous pump to the brake levers to check both the front and rear brakes are working fine. Now, it’s a green light for you.
Ride safe, always wear a helmet and keep the rubber side down!

Four Destinations To Start Out Mountain Biking In Kathmandu

April 26, 2018 0
Four Destinations To Start Out Mountain Biking In Kathmandu
Hey guys, I expect my previous three-story series on mountain biking (mtb in short) has helped you get the hang of the basic bike skills and handling; and you must have pulled off quite some off-road short rides to the backcountry.
Maybe you would now like to try some challenging rides.  Let me help you with a lowdown on some locations for you to venture out, which can really turn out as fascinating daylong destinations.
For a start, the destination I am going to chart out for you is a one-day long ride with a moderate to rugged terrains, both paved and dirt including some isolated forested areas. So my advice to you is: Take along a partner with you–so much the better and more fun if you can muster a group of say three to four riders. That will also help you to learn group rapport and group dynamics.
Not to be missed
Hopefully, you will not miss out on the basic essentials for the trip such as a pump, spare tube, patch kit, a toolkit . . . and of course, a rain jacket.  Don’t!  Also, make sure that you are well-hydrated way before you kick off. What I always do before long rides is to drink a litre of oral electrolyte-blended water at least 5 hours before the start (mostly coinciding with a night before) and supplement it with water during the ride. If you are carrying a hydration bladder tucked into your backpack, all the better.
As you sweat a lot and lose a lot of fluid, you need to replenish yourselves to keep yourself hydrated and avoid getting the most dreaded issue like muscle cramps, which can really ruin your entire ride.  Caveat: do not start on a completely empty stomach. A light breakfast before the ride is a good idea.
“Electrolytes are analogous to the motor oil in your car—they don’t make the engine run, but they’re absolutely necessary to keep everything running smoothly. Proper functioning of the digestive, nervous, cardiac, and muscular systems depends on adequate electrolyte levels” writes Steve Born, a sports nutrition specialist.
It will be a good idea to stash in some energy bars or chocolates into your backpack to refuel yourself as you will be burning off a lot of calories doing quite some gruelling up-hills. Also, they can work wonders for your sapping energy and stamina. Bananas, too, can substitute for the energy bars if you forget to carry them.  Needless to write, carry water bottles. And if you wish to have a less sore bum, apply Vaseline under your crotch. And do not forget to put on your padded underwear.

1.

Nagarkot
Everybody knows about this scenic hill town, and most of you might have visited Nagarkot one time or other in a vehicle of some kind.  Of the many cycling destinations, Nagarkot (2,195 metres) comes first in my priority list for beginners as it combines both a tough climb and a thrilling adrenaline-pumping downhill experience. Apart from that, it offers several off-road back routes, some quite challenging.
Nagarkot
Nagarkot is like 32-33 km from Kathmandu with Bhaktapur en route. The road is paved all the way.   After crossing the Bhaktapur Bazaar, you have to hit the road to Kharipati. After that, the paved road starts climbing and continues all the way up to Nagarkot. Owing to the recent widening work underway, do not expect it to be a smooth paved ride. The uneven road, gravelly at places, can almost pass for an off-road–so much the better for an mtb rider!
Given the relentless uphill, as a first-timer, it might take you a little over four hours from Kathmandu to Nagarkot including brief respites for a breather and some refreshments; plenty of tea houses line the road. Start early, around seven or eight in the morning, if you want to have lunch at Nagarkot and get back home before dark. Lots of eateries there serve dal-bhat and being a touristy place, also other dishes like pasta, noodles, pizza, whatever you fancy.
From Nagarkot Bazaar, you can ride to the View Tower situated 3.5 km up on a slight hill. You can take a 360-degree panoramic image of the sprawling Himalayas including the Everest if the weather permits and you are armed with a telephoto zoom lens.
The return ride from Nagarkot the same way back will be a half hour to one hour faster since you will be free-wheeling down all the way from Nagarkot to Bhaktapur. Round trip back to Ktm: 64-65 km.

2.

Nagarkot-Changu-Bhaktapur
Changunarayan
For the return ride, there are several other options to choose from. First, you can take the Nagarkot- Telkot-Changu Narayan-Bhaktapur (10 km approx.) route which also offers an off-road motor track. After some 3.5 km backtracking from Nagarkot to Telkot junction, you come to a cross-section.
Take the road that goes to Changu. Better ask around, if you get confused about the correct direction. As you ride the Telkot gravelled road towards Changu (6.5km), you come to a fork, the track down goes to Bhaktapur while the one that goes straight heads towards the Changu Narayan shrine.
Said to be more than 3,000 years old and designated as a UNESCO World Heritage Site, the Changu Narayan shrine is well worth a visit.  There are two options going back to Bhaktapur:  either you take the paved road or backtrack to the fork you passed earlier and hit the Telkot-Duwakot-Jhaukhel off-road track.  The track crosses the forested Telkot hill down to Bhaktapur past small settlements on the way. Either way, the round trip to Kathmandu will be something like 66-67 km.

3.

Nagarkot-Kattike Bhanjhyang-Shali Nadi-Sankhu- Ktm    
Sali Nadi during Swasthani Brata
                                        
Beginners, you will be thrilled to your bones if you hit this trail–a most rewarding experience if you love downhilling. Rugged and challenging this trail will really put your skill to the test. Downhill all the way from Nagarkot, the jeep track is lined by a thick forest until you reach Kattike Bhanjhyang (9 km).
The ride from Kattike, a small settlement, to Shali Nadi, Sankhu (8km) is again all the way down with a section of stone-laden path with steep descents. You have to be extra careful on this bumpy downhill section. The trail crosses isolated forested hills and then gradually opens up to a beautiful countryside as you reach Shali Nadi, another famous Hindu shrine which hosts an annual festival in the month of Magh (January-February).
After Shali Nadi you enter the town of Sankhu also called Shankharapur, said to have been named so for its conch-shell shape. From Sankhu it’s 23 km to Kathmandu or two and a half hours ride. The round trip back home is like 72-73 km.

4.

Nagarkot-Kattike-Jarshing Pauwa-Sankhu-Ktm
This is a little longer route than the rest. From Nagarkot, you descend down to Kattike like you do for Shali Nadi.  You will meet a fork at Kattike. The road to your left goes to Shali Nadi. To head towards Jarshing Pauwa, you have to go straight (4 km) up.  After Kattike, the dirt road starts climbing cutting across small village settlements, forested area, and terraced fields that slope down in a steep drop. If you are lucky, you can see a sweeping view of the snow-capped mountains to your north.
The ride from Kattike to Jarshing Pauwa is like one and a half hours with mostly ascents, some really steep ones.  The elevation of Jarshing Pauwa is 1803 metres. The small village perched on an open hill boasts some good tea houses and a few resorts.
From Jarshinga Pauwa, you are met with a wide paved road that snakes all the way down through a beautiful forest to Lapsephedi and the Sankhu Bazaar (7.5 km).  Round trip to Ktm: 76-77km.
All things considered, the Nagarkot ride promises the beginners a truly thrill-packed getaway, whichever route they chose to ride back–the rides are tough, scenic, educative, challenging–all rolled into one! Caveat: For beginners, this ride can be really tough and gruelling and you might be nursing sore muscles the next day. But it is worth its weight in gold–a most rewarding experience indeed.
Take frequent breaks, soak in the beauty and the ambience of your surroundings, chat with the local people, capture the memorable moments into your camera . . . and do not forget to have that special sweet tea made from buffalo milk at a village tea shop–always my favourite when riding through the country!
Next, I will bring you more such ride info on short, day-long and some longer with night halts. Until then, ride safe and keep the rubber side down!

Got Yourself A New Bike? Eight Tips To Hit The Trail

April 26, 2018 0
Got Yourself A New Bike? Eight Tips To Hit The Trail
Hello beginners, you followed me through the last two series with basic info on mountain bikes, gears, outfits and tips on how to use the brakes, shift gears as well as mounting,  dismounting and a few others.  I presume you have had some practice rides done around your neighborhood during this time.  Now, it’s time for the real challenge–to do the off-roads and trails. Let me guide you through this final tutorial so that you can progress in course of time to the next or the intermediate level. Here we go!

1.

Relax and stretch
It’s natural for a beginner to get either intimidated or all fired-up on his/her maiden off-road ride. Better keep your excitement or fear within bounds. In simple words, relax and try to build up your confidence.
Since you are a beginner, try some short off-road rides nearest from your house, say about one to a one-half hour long with rests in between.  Stay in easy gears, whichever is more comfortable for you to pedal so that your leg muscles do not tire too quickly.  With time, you can prolong the ride duration and venture deeper into the countryside.
A word of warning, though: Your early rides are going to cause you for sure saddle-soreness and chafing. That happens to everyone some time or other even with the padded shorts on.   You cannot help this annoying experience, only alleviate the pain by applying Vaseline under your crotch.
Before you start your ride, stretch yourself for a few minutes to loosen up your muscles. “It helps a lot to do both a pre-ride and post-ride free-hand warm-up exercise for a few minutes to prevent muscle pulls,” advises Rupesh Man Shrestha, a pro rider and the owner of Epic Mountain Bike, Jhamsikhel, Lalitpur.
Be natural; keep your muscles relaxed and flexible. Steer your bike in a natural flow. Do not exert force as you come across different terrains– some are plain but others can be rocky with stretches of ruts, ditches or even waterlogged potholes if it’s post-monsoon months.

2.

No shame
If you get into a tight spot on the trail such as a steep incline, a deep rut, a slimy trench or an unrideable stretch, just get off your bike and walk it past them. There is no shame in doing that. We did it in our time. A day will come when you will coast through them effortlessly. Walking your bike is an accepted part of mountain biking and there are times when even the pros resort to it during a race.

3.

Look ahead
Look ahead–neither at your front wheel or immediately in front, nor at your feet or pedals. Focus on the trail ahead and watch out for any obstruction or obstacle way ahead so that you can figure out how to pedal past or over it.  Be prepared for blind corners.   So, a line of sight is important for every rider, beginner and pro alike.

4.

Gear shifting
Keep shifting the gears as you spin along to better understand them and let your intuition guide you. As the terrain changes from flatter roads to inclines or down hills, it will help you shift into a comfortable gear without needing conscious reasoning.

5.

Proper foot placement
When placing your foot on the pedal (flat pedal), do not put your foot too far forward on the toes (a common mistake committed by most riders). Place your foot on the pedal with the ball of your foot fractionally ahead from the axle of the pedal or the spindle with your heels down. This avoids the shoe sole from sliding while doing the bumpy trail. This method ensures maximum pedal power and efficiency.

When coasting or when you are not pedalling, keep the pedals horizontal and not vertical (another mistake most beginners make). It’s like resting your feet on the pedals normally with your left foot forward and slightly higher. This position prevents you from hitting a rock, keeps your balance when you stand on your pedals and your foot ready for a power stroke.

6.

Going uphill
Now, that’s one of the toughest bit for a beginner and kind of intimidating, too. When the climb starts, at first, you are not sure of yourself whether you can make it to the top or not. Do not rush. Shift into a low gear early before the climb begins and try to maintain a steady pedalling motion called ‘cadence’ in order to achieve maximum power.

Most early riders make the mistake of late erratic shifting during climbing, which can be a messy affair and cause load on the gears and the chain–can even break it.  It does not matter if you go for the lowest gear if you do not let up on your pedals and maintain a slow but steady pedalling motion.
If the going gets very steep, lean forward and slide your hip to the tip of the saddle to avoid your front wheel suddenly popping up. For better traction, stay seated on your saddle.  Drop your shoulders low and forward, and pull down and back on the bars as you pedal. Do not try pedalling in a standing position just to ape other riders. You need to train for that. So, try it in a later stage.
Do not exert yourself too much if you think you cannot go on. Just get off the bike and walk it to the top. There is always the next time . . . and take my word for it . . . you will eventually conquer that steep hill on your second or the third try. That’s how I and my mates fared in our early days.

7.

Going downhill
That really frightened me in my early riding days especially when I confronted the ultra-steep ones with all kinds of rocks and pits. For beginners, this can be nothing truer. So, my advice to them is to try some easier trails first.
Going down a hill means you are pulled by gravity, which results in increased speed.  With speed and a rocky track, you need to maintain a perfect control and balance. The right posture of your body when going downhill is to raise your butt off the saddle, shift it slightly back with your body lowered to the handlebars. Keep your elbows and your legs slightly bent so that, besides your front suspensions, they too help soak in the bumps and the hits. Stay focused, look way ahead and make up your mind to negotiate down the portion of the track you think would be easiest for you.
“Seated position is wrong when doing downhill. Slightly raise your butt and stand on the pedals, your knees and your elbows bent in an attack position. Put your body weight on the pedals which should be parallel to the ground. Use your index fingers gently on both the front and rear brakes. You can slightly shift your hips back if the descent gets steeper,” advises Shyam Limbu, an ace rider, NCA coach and the Managing Director of Gravity Nepal, a mountain bike store located at Dhobighat, Lalitpur.
Keeping your pedals parallel to the ground (in a 3 and 9 o’clock position) will help you avoid hitting big rocks or catching on some kind of outcroppings like tree roots or stumps. The heels of your sneakers should be dropped to prevent slipping and ready to take in the impact when you brake or hit a bump. The best choice of gear for downhill would be the biggest chainring so that the chances of the chain bouncing off while doing the bumpy descent is less likely.
If the descents are steeper, you can drop your saddle height by a few inches to boost up your confidence and attain a better control.

8.

Cornering technique
When you venture out into the off-roads and trails, switchbacks berms, and off-camber corners become part of them.  Consequently, you have to master the cornering essentials. This part of riding can get tricky if you do not handle your bike properly. When you approach a turn, slow down by using both your brakes before you take the bend and not when you are turning and roll through.
Downhill cornering is dicier as gravity pulls you down. First and foremost, you have to control the speed, make long sweeping turns and avoid jerking the handlebars and swerving sharply. Look towards the end of the bend and further along the trail. Your head and shoulders should be pointing towards the direction you are heading and use the brakes before not during the turn.
“If it’s a sharp bend on a narrow trail and you are doing left turn, lower your centre of gravity, bend your knees and arms slightly, lean your bike under you to your left with your pedal raised to 10 o’clock opposition shifting your body and weight to your right pedal and vice-versa,” advises veteran rider Prayash Tamang (also NCA coach and co-partner Trek bicycle shop, Panipokhari, Kathmandu).

A word of advice
 There is a saying in Nepal: Ghoda chadne ladchha which translates to, one who rides a horse is destined to fall. Same applies to mountain biking.  You will fall off your bike some time or another . . . not once but several times. I had innumerable crashes during my time . . . I still do. That should not deter you from pursuing this great sport and adventure. Even World Champs fall off their bikes!
Now that we are almost done with the elemental skills, let me remind you again that all these skills need honing . . . you have to build them up gradually–and that takes time, patience and a lot of practice before they become second nature to you.
Now it’s time for the little secrets with which you can surprise even the most experienced riders.
  • The Proper Wearing Of Sunglasses Is To Put The Arms Of The Specs From Outside The Straps Of The Helmet. The Reason For This Is If You Crash, The Glasses Fly Off; But If The Arms Are Under The Straps, They Get Trapped And Your Eyes Can Get Hurt By The Broken Lenses. Most Riders Are Unaware Of It.
  • If A Rider Is Wearing A Pair Of Sneakers, More Often Than Not The Laces Remain Dangling And Not Shoved Into The Inside Of The Shoes. If The Laces Of The Right Shoe Get Trapped Into The Chainring, You Are Sure To Crash And Eat Dirt! You Can Surprise Even An Ace Rider With This Info!
Young and strapping beginners, if you are intent on doing serious or hard-core riding and wish to be coached by a professional, Gravity Nepal, located at Dhobighat, besides selling high-end mountain bikes, runs a Mtb clinic to cater for your needs (for more details, call: 5535662/9803661496).
Happy riding! Ride safe and always keep the rubber side down!

Mountain Biking In Nepal: Know When To Brake, How High To Saddle

April 26, 2018 0
Mountain Biking In Nepal: Know When To Brake, How High To Saddle
Hey, guys, I am back again to share with you the basic tips on mountain biking, which every beginner should master before doing some serious riding. They worked for me and I strongly believe they will for you to make you a better and safer rider. Consider yourself lucky because I and my co-riders did not have anyone to guide us in our early riding days!
I reckon you might have got the hang of your bike by now and tried a bit of riding too. By the looks of it, you cannot wait to hit the off-roads or trails but are intimidated, especially when you think of the bumpy rock strewn downhills. No worry, that happens to every beginner–everyone has to start at square one. But before you hit the real trail and the single tracks, you better get low-down on some more practical skills.
It’s essential, therefore, for an absolute beginner to know the basics such as how to use the brakes, the gears, proper mounting and dismounting, foot position, arm position, the saddle height, etcetera.
Relax
First, relax! Loosen yourself, do not stiffen your stance when on the saddle, do not clench on the handle grips and do not lock your elbows. Slightly bent elbows will ease up on your arms and help absorb the shock while doing bumpy trails or off-road.
Braking
Let’s begin with the brakes, something that took me a long time to learn. First, sit back. Do not rush when it comes to braking. Go easy on them lest you fall off your bike even before you begin your rides!
To achieve good balance over your bike, you have to first know the stopping power of the brakes, the front, and the rear. If you press too hard on the front brakes, the momentum of the bike shifts drastically to the fore-end, the front wheel locks, the rear wheel lifts . . . and the result is obvious– you are thrown over the handlebars. “Ouch!”
Sudden and harder squeezing of the rear brake locks the back wheel and causes skidding making you lose balance . . . and then a–“Crash!”
Brakes are meant to slow you down and to stop–making you comfortable and secure on your saddle. Control and consistency is the rule of thumb. Be gentle on both the brakes and avoid sudden fast squeezing. Decelerate and gently apply both the brakes.
Most of the braking power rests on the front brake. Your front brake accounts for as high as 90% of your downhill stopping power. So if you are going downhill, the best thing to do would be to shift your hips back on the saddle to increase the braking power of the rear wheel and avoid skidding. Keep a slight bend in your knees and elbows to maintain a balance and apply both the brakes evenly.
A word of advice for beginners: Rely on your best judgment. With time and practice, you will grasp the technique better.
If you happen to take a look at the tyres of the pro riders, you will notice that the front tyres bear most of the wear and tears because they use the front brakes more for better grip and traction.
In other words, the pros know how much of their weight to shift over each wheel and to apply just enough braking power to each brake, so not to ‘endo’ (flip over) over the handlebars or skid down a trail—-something that took me a long time to learn and frankly have not mastered it completely to this today.
Since all bikes today have disc brakes, using just your index fingers to squeeze gently on the brake levers give you sufficient braking power, while rest of your finger wraps around the handlebar grips. Using more than one finger can be too hard on the brakes and cause loss of control.
Gears and shifting
Now it’s time to get familiar with the gears and their proper shifting. Using your gears efficiently could make all the difference to your biking. Gears are meant to make you pedal comfortably no matter what the terrain.
The front cogs of your bike, called the ‘chainring’, (normally a set of three cog-rings) translate to the degree of resistance. Today’s bikes have been upgraded to two or single chainring. Let’s, however, focus on the three-set chainring in the front for now as is common with the entry level bikes.
Of the three cogs in the chainring, use them alternately according to the terrain you are riding:
  1. Big Chainring: For A Flat Surface, Paved Road Or When You Want More Speed. The Resistance In This Ring Is Greater And Pedalling Is Harder.
  2.  The Middle Chainring: This Ring Is Considered The Universal One, Normally Used For All Kinds Of Terrain And The Best For Beginners To Use.
  3.  The Smallest Chainring: For Climbing Hills Or Inclines, Paved Or Off-Road. In Mountain Biking, It’s Also Called The Granny Gear. You Will Be Surprised To Learn In Course Of Time That You Can Climb The Steepest Of Hills By Engaging This Gear.
Always keep in mind that the shifters on your left handlebar control the front chainring, or the front gears and the right ones the rear cassette or cogs.
Next, let’s get down to the rear cogs called the cassette. The cassette includes anywhere from seven to 11 cogs or gears as they are called. The bigger the cog, the easier gets the pedalling. The shifters on your right handlebar control the gearing of the rear cogs or the cassette. The entry-level bikes normally come with nine cogs, also called nine-speed. So, that makes your bike 9×3, i.e., 27 gears.
A word of adviceCross-chaining (watch video clip).
Avoiding cross-chaining will not only ensure a smooth shifting of gears and comfortable pedalling, but will also cause less wear and tear of the chain, the chainring, and the cassette. An Mtb chain, chainring, and cassette are costly affairs. So the proper combo-use of the chainring and the rear cogs are essential. For almost a year I rode my bike with no knowledge of cross-chaining. So get it right, and do not make the mistake I did, mate!
The best gear combination without cross-chaining would be:
  1.  For Uphills: Small Ring In The Front Vs. Biggest Three Cogs In The Cassette (Do Not Go Beyond To Avoid Cross-Chaining)
  2.  For Flatter Terrain: Biggest Chainring Vs. Smaller Cogs Up To The Last Three Remaining Big Cogs (If It’s Nine Cogs Use Up To Six And Leave The Last Three Big Ones)
  3.  For All Kinds Of Riding: Middle Ring (The Universal) Vs. Any Rear Cogs In The Cassette Since It Causes Minimal Of Cross-Chaining
Now that you know about the gears and their proper shifting, take a spin around your neighbourhood and practise gear-shifting before you hit the trail. Always make sure you shift the gears when your pedals are spinning not when stationary. And, always ease up on the pedals when you shift the gear.
Mounting and dismounting
Mounting and dismounting or starting and stopping sound like a piece of cake, but developing the right technique makes you a safer and better rider. The method explained below allows you a quicker mounting and dismounting with an added advantage of making a quick stop.
Ready Mount Method:
1. Straddle the top tube of the bike frame and stand flat on the ground of each side of the bike.
2. Position your right pedal to a 10 o’clock position and lean the bike to your left slightly.
3. Make sure that your bike is in middle or lower gears so that you do not have to push harder on the pedal.
4. Push down on the right pedal with your right foot and stand on it at the same time.
As the bike rolls, put your left foot on the left pedal and raising your butt, seat yourself on the saddle. Voila, you are spinning already! Mind you, while you mount yourself, look ahead, not at your pedals!
Now to stop your bike, decelerate first and gently apply the brakes. When you are at your desired place, shift your body off the saddle forward supporting your weight on your right leg and your arms, and stop the bike with your left leg extended to the ground to support yourself. This way you are back to the starting posture again.
This is the most commonly used method for the riders and I would recommend the same to the beginners, too. The beginners might find this method a little difficult to master at first, but after a little practice they will learn it and take my word for it–benefit a lot from this technique.
For a start, you can mount your bike the conventional style by running along it. But on the trail and a traffic-laden road, the Ready mount method (watch video) always proves more efficient . . . and practised by most.
Saddle height
Another crucial issue is the correct saddle height. If your saddle height is too low, it makes pedalling more difficult and can also cause knee and back pain, especially when you are climbing.
On the other hand, if your saddle height is too high, you are not comfortable, have to squirm and move your hips on the saddle to pedal while your legs are outstretched too much, which can also cause leg cramps.
The rule of thumb to decide the spot-on saddle height is to stand next to your bike and adjust the seat to your waistline where you normally use your belt to hold your pants. Most riders stick to this method. The more scientific method is a bit tricky and you need a partner to help you.
Let your partner hold the handlebar for you when you straddle your saddle. Position one of your foot on the left pedal at 6 o’clock, while the right foot rests on the right pedal parallel to the ground; now make sure that your right foot stretches almost 85 t0 90 % straight with just a slight bend in the knee and you are done.
Beginners, you have stepped on the first few rungs on how-to, such as braking, gear-shifting, starting and stopping, adjusting the saddle height and so on. Now try to apply those techniques and do a bit of riding around in the neck of your woods, or for that matter, a big playground until you are confident enough to hit the real off-road.
Next week, I will familiarise you with the handling skills of doing uphill, downhill, cornering and other valuable tips from some of our pro-riders. I will also let you into some small secrets which I doubt even the hardened bikers today do not know! Until then, keep practising and . . . keep the rubber side down!